Alright, we've done our research and we've completed planning the scale for a historically accurate ship, so we're ready to get some real work done.
As in my previous two builds, I started by stacking wood planks (visit the tools and supplies page to see the wood I'm using), drilling three holes in them, and shoving toothpicks in the holes to keep it all pinned together. This time I'm using three planks because it matched the dimensions from my scaling maths.
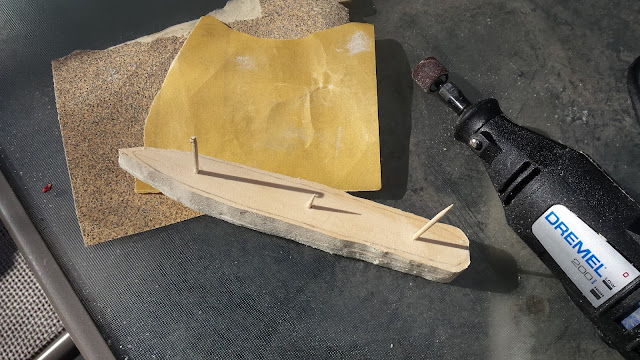
Next I cut out the scale drawing I made in the last post, put it on top of the wood, and traced it so I have a guide. I used a Dremel to sand away most of the wood and when I got to the point in the picture below I switched to sanding by hand.
I finally have a scroll saw. Hopefully I won't have to sand like an idiot anymore.
Seriously though. Get a scroll saw.
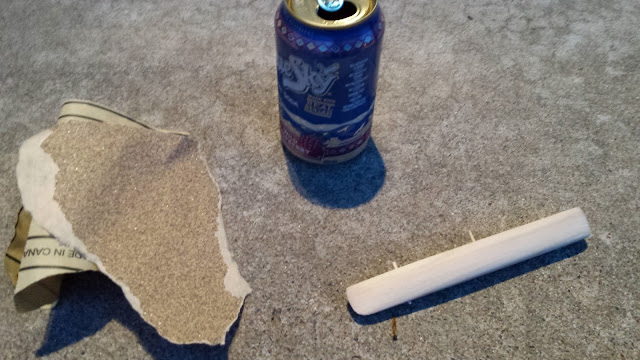
So after a number of hours that I'm not prepared to admit publicly, I finally got most of the sanding done. It took a couple of sessions. I basically would sit down with a picture of the ship and just keep referring to it while sanding. If anyone else has a better method, I'm all ears. (Yeah I know, use a scroll saw.)
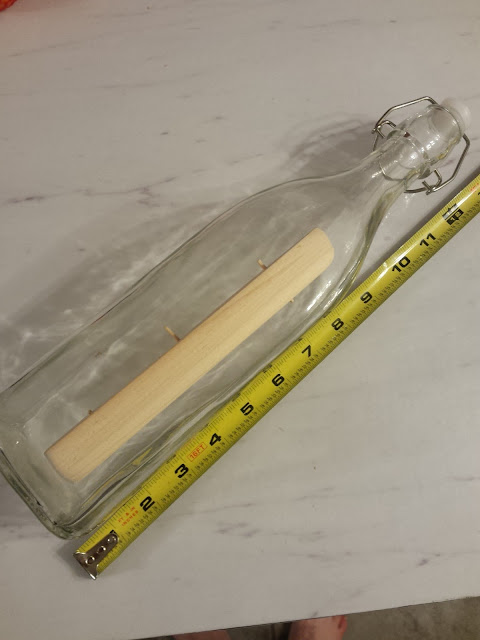
If you recall from my first build, I forgot to check that the ship would fit in the bottle, so I went ahead and did that at this step. Not only do you want to verify the individual pieces can fit through the neck but you also want to make sure the proportions look good in the chosen bottle. If they don't, get a different bottle.
Without a scroll saw there's not much you can do other than sit on your stoop at midnight with some tunes and get sanding.
So after a number of hours that I'm not prepared to admit publicly, I finally got most of the sanding done. It took a couple of sessions. I basically would sit down with a picture of the ship and just keep referring to it while sanding. If anyone else has a better method, I'm all ears. (Yeah I know, use a scroll saw.)
If you recall from my first build, I forgot to check that the ship would fit in the bottle, so I went ahead and did that at this step. Not only do you want to verify the individual pieces can fit through the neck but you also want to make sure the proportions look good in the chosen bottle. If they don't, get a different bottle.
Damn that's going to look pretty good.
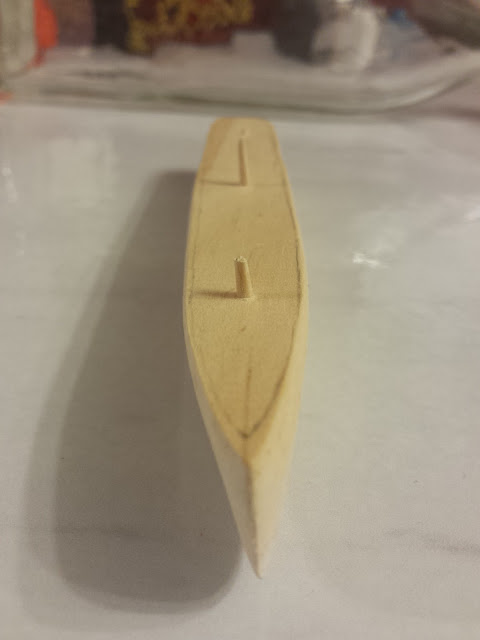
I made a few minor adjustments to try and achieve the mean, sharp look of the real hull.
Just a little more sanding and we'll be ready to paint.
At this point I'm just dying to paint the thing because I have an embarrassing number of hours into the project with little bang for my buck. Painting makes you feel like you've achieved something because it's such a drastic change compared to naked wood. In actuality I have plenty of bang for my buck, it just feels slow going.
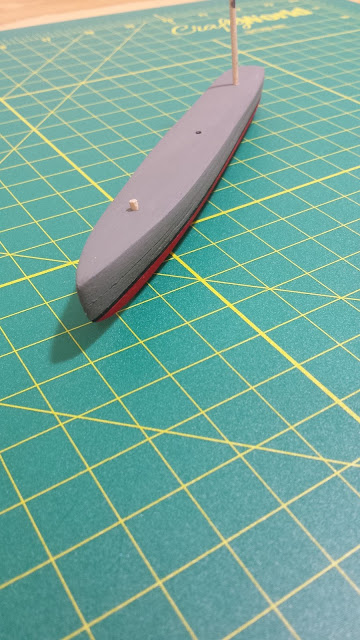
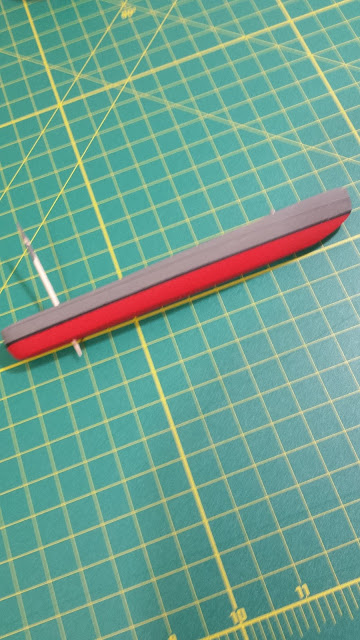
I noticed that obviously the ship is gray above the water line, black at the water line, and it's red below the water line. Fun fact, the red paint is used to slow the growth of bacteria and barnacles. It's red because it has a lot of copper in it.
I separated the three pieces off the toothpicks and started painting. Pretty self explanatory except if you're wondering how I did the black stripe. Still pretty simple but I just masked it off with tape and painted with a small paintbrush. Felt like surgery, was cool, would recommend.
The next step is where things are going to start getting complex because we have to build the superstructure (all the shit that sits above the deck). I'm looking forward to making the guns but the bridge and towers and smoke stacks seem a little daunting to be honest. I'm sure we'll get there though. Thanks to my buddy Alec for the scroll saw, it's going to be a huge help for the next phase!
Actually I'm pretty excited to get the "729" on the hull so I'll probably do that next. No idea how, but I'll be sure to report on that.
Posts for this build:
Part 1
Part 2
Part 3
Part 4
Part 5
Part 6
Part 7
I noticed that obviously the ship is gray above the water line, black at the water line, and it's red below the water line. Fun fact, the red paint is used to slow the growth of bacteria and barnacles. It's red because it has a lot of copper in it.
I separated the three pieces off the toothpicks and started painting. Pretty self explanatory except if you're wondering how I did the black stripe. Still pretty simple but I just masked it off with tape and painted with a small paintbrush. Felt like surgery, was cool, would recommend.
Starting to feel like a WWII destroyer.
I like the red. Mixed a little brown with it to tone it down.
The next step is where things are going to start getting complex because we have to build the superstructure (all the shit that sits above the deck). I'm looking forward to making the guns but the bridge and towers and smoke stacks seem a little daunting to be honest. I'm sure we'll get there though. Thanks to my buddy Alec for the scroll saw, it's going to be a huge help for the next phase!
Actually I'm pretty excited to get the "729" on the hull so I'll probably do that next. No idea how, but I'll be sure to report on that.
Posts for this build:
Part 1
Part 2
Part 3
Part 4
Part 5
Part 6
Part 7


No comments :
Post a Comment