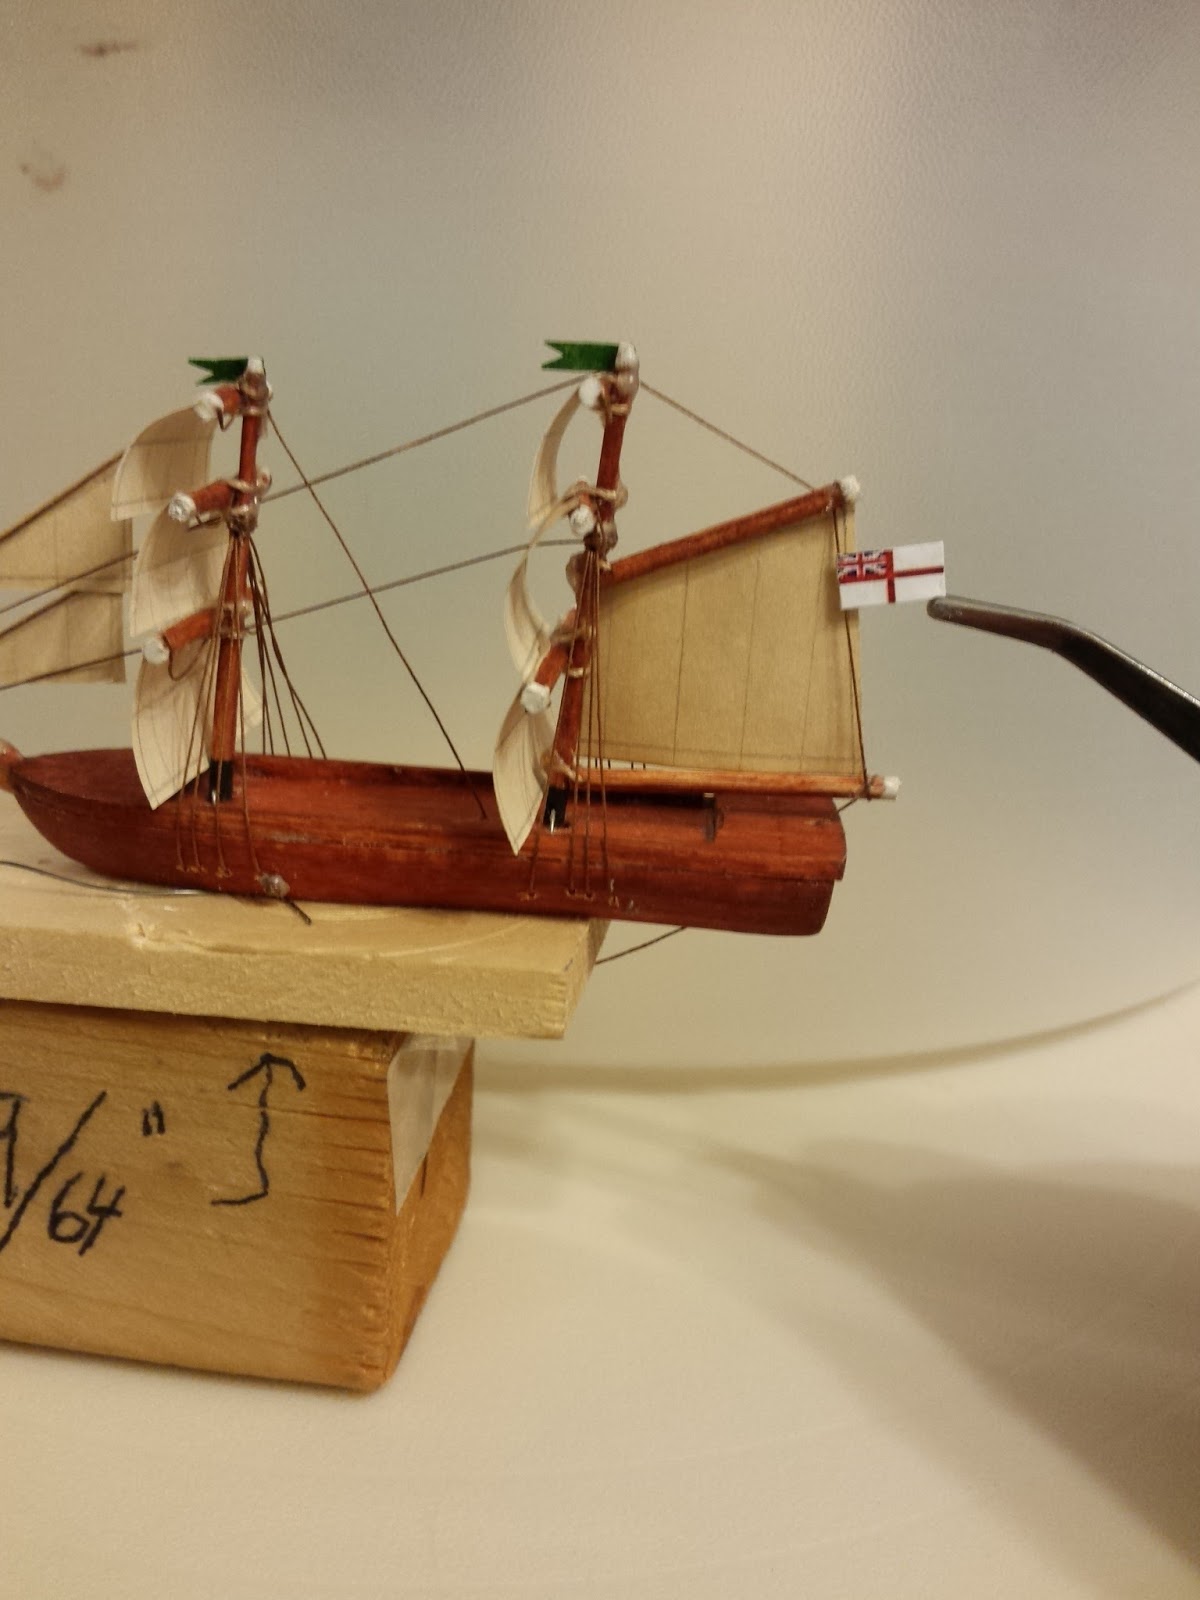
Added a white ensign because I wanted a British warship. Added green flags because they look cool.
The green flags are easy, just color some paper with a marker and then cut out a few flags until you have two favorites. I kind of cheated on the white ensign by printing it out on a computer. The trick is to print a horizontally reversed image too so that you can make a two-sided flag.

I fully expected to mess this up so I printed out a lot more than I needed.
Let's get this guy in the bottle, the suspense is killing me. I'm going to use skis that I can rotate just like I did on my first ship in a bottle tutorial. You're going to want to hollow out some of the hull too because you've got crap sticking out of the underside of the top deck (like the wire you used to secure the masts).

Dig out some material so the decks will mate together nicely.
I also put two blocks inside the bottle and glued them down, but didn't bother taking a picture of that process.

The skis rotate parallel to the hull. Slide 'er in.

Rotate your skis back to perpendicular. Dab some glue on the mounts. I put a glob of glue on a paintbrush handle and use that to gloob up the mounts.

Tip the hull onto the mounts, make sure you like how she's sitting. Call it a day.
You have to wait for the glue to dry. Glue dries slowly inside the bottle because of restricted air flow so I always let this part dry over night.
Next day, start by taking a deep breath and a shot of whiskey.

Fold your sails down. If it's a square rigged ship like this, hopefully you remembered to make your spars rotate too, which I covered in part 2 of this very ship in a bottle tutorial.

The green lines show you how my six horizontal spars are rotated since they're too wide to get through the neck when perpendicular.

We're in!
Not much else to say at this point. Dab some glue on the bottom half of the ship and mate the two together. Once you do that, again, let the glue dry over night.
Then you can shoot a neat little video like this:


